Mycology
How To Make A Spore Syringe – The Easy Way
Apr
Mycology isn’t always the easiest hobby to learn for beginner Mycologists. It can be tricky until you have mastered the art and have all the equipment you need. However, making a spore syringe doesn’t have to be hard OR require any special equipment. So if you are wondering on how to make a spore syringe without the need of a pressure cooker or other expensive equipment, your in luck!
Supplies Needed
In order for you to make a spore syringe, there will be some supplies you’ll need. Before you begin, get the following supplies ready:
- Disposable OR rubber food safe gloves
- An empty (Sterilized) 10ml syringe (Luer-Lok preferred)
- 18 GA Needles
- 70% rubbing alcohol
- Distilled water
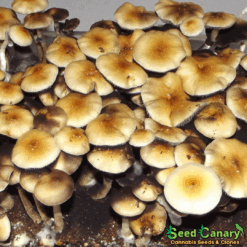
- a spore print (Of course)
- torch lighter/gas-burner
- scalpel
- a pair of tweezers
- SAB AKA Still Air Box
- A pot to boil water with
How To Make A Spore Syringe (Sterilizing The Water)
Step One – Prepare the following supplies in your kitchen/ Near a stove:
- 1 small/medium sized pot
- distilled water
- your empty syringe with 18GA needle attached
Step Two – Pour enough distilled water into the pot to fill the desired amount of syringes with. You can measure the amount of distilled water using a measuring cup, or just eye ball it.
Step Three – Bring the pot of distilled water to a boil and let it boil for roughly 10 minutes. While the water is boiling, make sure that your water does not boil over.

Step Four – after 10 minutes of boiling, take the pot off the burner and prepare your syringe. Put the 18ga needle onto your syringe and grab your torch. flame sterilize the needle until it becomes red hot. Once you see the needle glow red, suck up some of your boiled distilled water into the syringe until it is full. BE CAREFUL! As the water and steam WILL be hot.
Step Five – After you have filled up your syringe(s), place them in a container or wrap them in foil so that they stay warm for a longer period. This step may not be needed, but can help increase your odds of having a clean spore syringe.
step Six – Let your syringes cool off. It may take 6 or more hours until your freshly made syringes are cooled off. It is important to not suck up your spores in HOT water as you would kill off the spores immediately.
How To Make A Spore Syringe
Now that your syringes have cooled off and are ready to use, you can prepare to begin making the spore syringe. Clean off your work area and get out the following supplies:
- Sterile Syringes filled with the distilled water
- 18 GA needle (if not already attached)
- Still Air Box
- Clean rubber gloves or disposable
- 70% rubbing alcohol
- Clean razer blade
- Torch
- Your spore print
- Clean shot glass that has been wiped out with 70% rubbing alcohol
Step One – After you have cleaned your Still air box and wiped everything in it with 70% rubbing alcohol, You may unwrap your spore print and begin working inside the still air box.
Step Two – Outside of the still air box, flame sterilize your razorblade/scalpel until red hot. Bring your hands back inside the SAB and then Place your unwrapped spore print over the shot glass and begin scraping the spores into the empty shot glass.
Step Three – After you have scraped the desired amount of spores into the shot glass, you can flame sterilize the needle attached to your syringe and begin spraying the spores inside the shot glass with the syringe water. You don’t need to empty the full syringe of water into the glass, but instead just half of the water inside of it. This can be a useful technique if you are making more than one syringe.
Step four – After you have sprayed the spores with enough water, you can slowly suck up your spore solution back into the syringe. To ensure you have sucked up all the remaining water, you can tilt the shot glass to one direction while you are pulling the water back up.
Step Five – After you have successfully made your spore syringes, You can now place them inside of a bag, container, or cabinet while you wait 24 – 48 hours for the spores to clump. It is not recommended to use spore syringes right after they are made.
Shopping For Spore Syringes? Check Out What We Have!
-
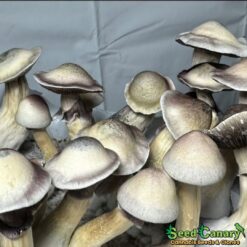
 Leucistic Machine Elf Spore SyringeOriginal price was: $15.00.$10.99Current price is: $10.99.
 -
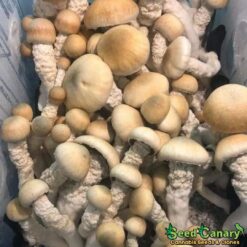
DC Melmac Spore SyringeOriginal price was: $15.00.$10.99Current price is: $10.99.
-
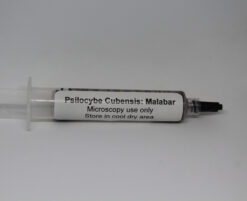
Malabar Coast fungi sporesOriginal price was: $20.00.$15.00Current price is: $15.00.
-
Creeper Spore SyringeOriginal price was: $15.00.$10.99Current price is: $10.99.
-
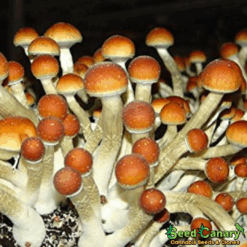
Texas Orange Cap Spore SyringeOriginal price was: $15.00.$10.99Current price is: $10.99.
-
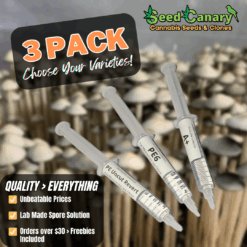
P.cubensis Spore Set- Mix & Match Pack (3x Syringes)Original price was: $45.00.$35.00Current price is: $35.00.
-
Huautla Spore SyringeOriginal price was: $15.00.$10.99Current price is: $10.99.
-
Albino A+ Spore SyringeOriginal price was: $15.00.$10.99Current price is: $10.99.
-
Menace Spore SyringeOriginal price was: $15.00.$10.99Current price is: $10.99.